BLOG interiors + staging + lifestyle

The Case of the Crooked Painting 5 Tricks + Tips to Make Hanging Art not a Mystery
Let’s take the mystery out of hanging art. In today’s POST I’ll reveal my 5 favorite tools and tips to hang art properly.
The Case of the Crooked Painting.
I recently read on-line a fellow home stager in dismay over her home staging artwork not hanging properly - it seems the nail she used was dragging down the drywall and causing the piece to end up crooked.
Let's discuss this case starting with some insight.
If your recently hung artwork is dragging down the wall - then you are using the wrong nail on the wall. A key ingredient to hanging art is to make sure you have the right hanger for the weight of art.
Let’s take the mystery out of hanging art. In today’s POST I’ll reveal my 5 favorite tools and tips to hang art properly.
Along with tool bag basics, there are a plethora of amazing new and improved gadgets, tools and picture hanging nails, hooks and products available to you. If you haven’t been to your local home improvement store’s picture hanging section to see them, I’ve made my own favorite list in my Amazon Affiliate Store for you to peruse.
Here are 5 of my favorites from the list:
The Monkey Hook: This “As seen on TV” invention makes hanging any, especially, heavy art a breeze. These picture hanging gadgets look like giant fishing hooks - with a small hook on one end to hang the art, and a curved base that goes into the drywall. You don't need any tools, just poke the sharp end through drywall, turn, and then push the hook until the bottom hook part clicks into place. The curve of the hook distributes the weight behind the wall - They come in multiple sizes up to 50lbs. Perfect for heavy art and hanging mirrors. Best part, they leave only a small hole - perfect for home staging.

Monkey Hooks
A picture hanging tool. My very favorite tool in my tool bag. I have had mine for 24 years. Best used for wired art - The tool is basically a stick-like device with a hook on one end to hold the art - the hook also has a nail on the reverse side of the hook - to mark the spot to add your nail. And on the other end a handle to hang the art for its best position. Super easy to use, extends your arm for a perfect placement for wired, or saw tooth hanger art. Some, even have a built-in level, making it a complete package for art hanging.

A Picture Hanging Gadget (Tool)
Tape Measurer with Fractions. When hanging art, it is key to find its best placement. This requires measuring. To make it easy, and take some of the math out of your calculations - a tape measurer with fractions. No need to count those pesky lines, the tape had those fractions right on them.

Art Bumpers - These plastic rubber sticker discs are perfect to adhere to any art back corner to keep it from becoming unlevel. Daily movement in a home, walking, doors closing create vibration - these bumpers will both protect the wall and also absorb the vibrations to keep your art from moving.

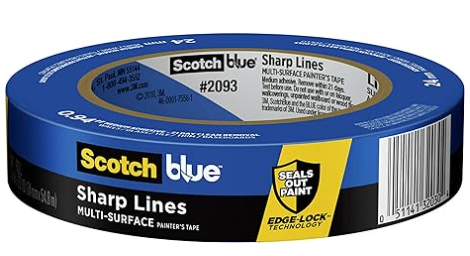
A roll of painters blue tape: Blue tape can be used as a template to mark 2 hangers on a picture back.. Simply cut a long piece of tape, align it on the back, mark the 2 supports, then place the tape on the wall, level and you’re ready to go. The tape too can mark a nail spot, and also in a pinch stand in for those art bumpers to keep a painting secure to a wall.
A few simple tips of good picture hanging.
-Investigating the art/object that will be hung. The 1st step to good art hanging is to investigate the object being hung - Estimate its weight, that will help you determine which type of hook/nail to use. Turn it around to see if it is wired, has nail rings, has a saw tooth hanger, etc. this too will help determine the product you’ll use.
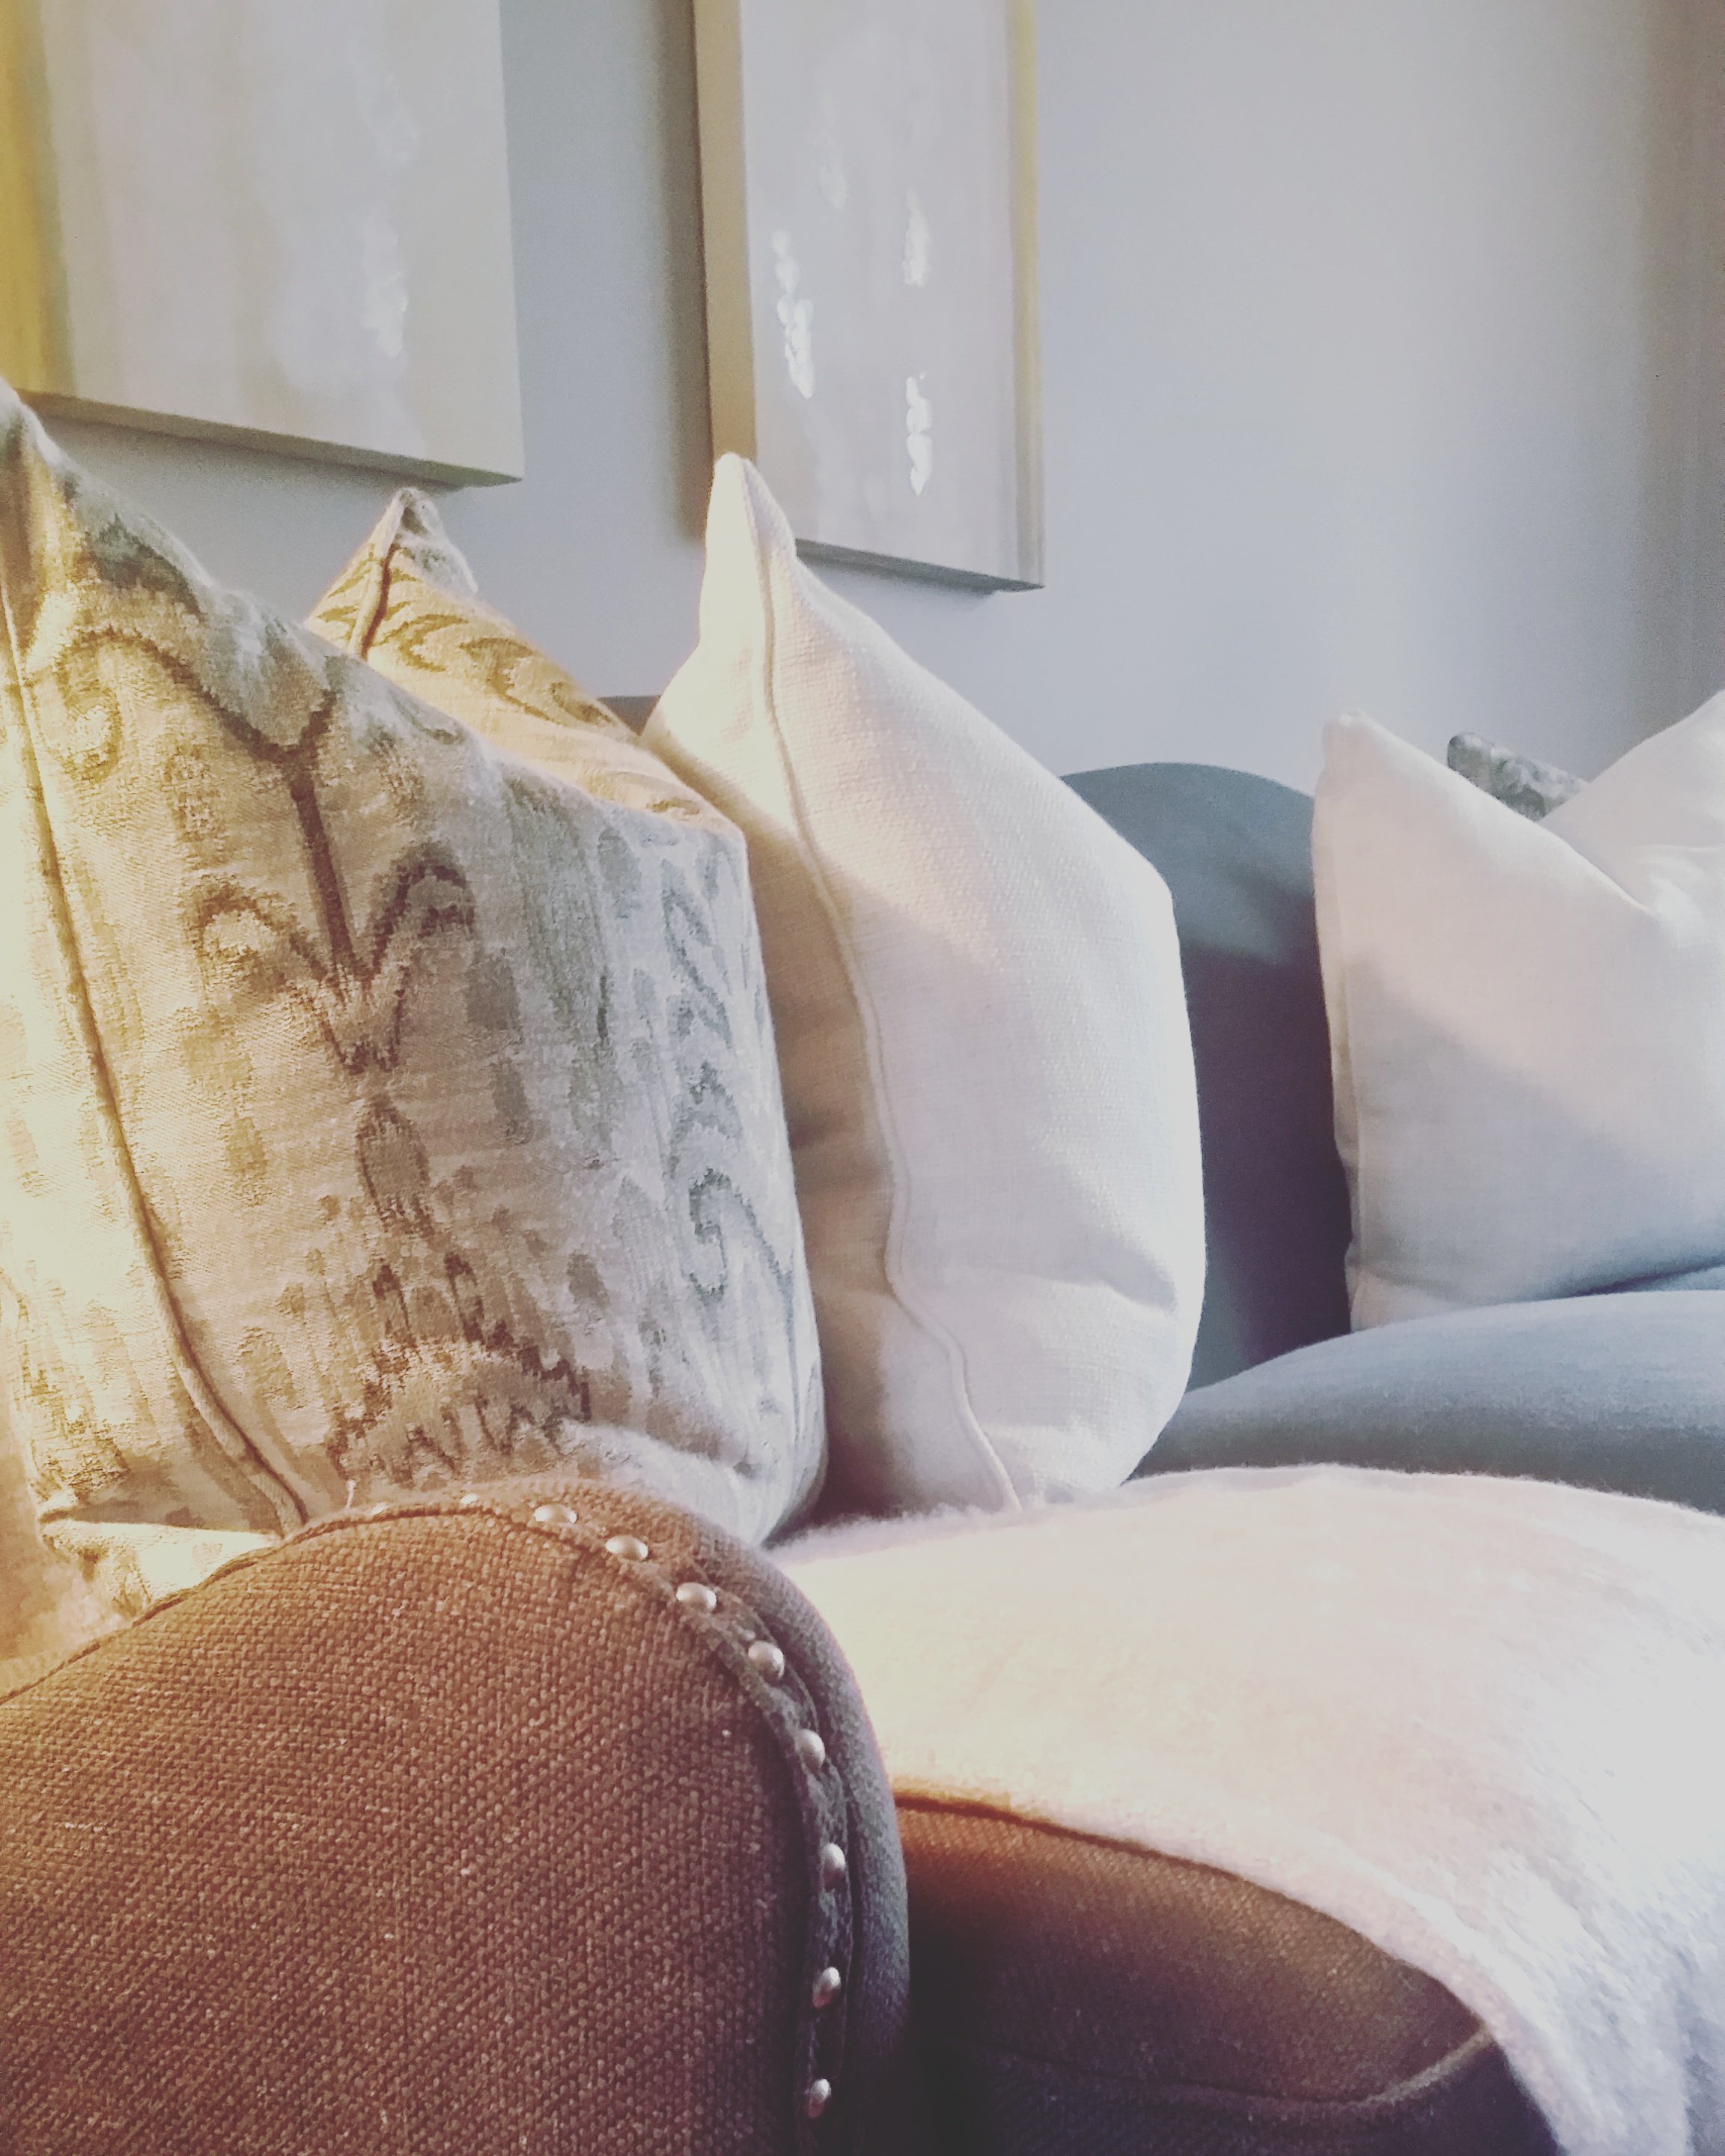
-Take a look at the wall you’d like to hang it on. The golden rule of hanging a picture is to have the center of the picture be at 57 inches This reflects the standard eye-height of the average person, and is used as a standard in most art galleries and museums.
-Next, Investigate the wall it is being hung on. Drywall is easy, but what if you are hanging on old, plaster walls or brick? For plaster walls (which chip easily) a trick is to find your mark, add a square of blue tape, then either use a small drill bit to create a starter hole, or use picture hooks that have nails that go in on an angle. You can all use Velcro type adhesive picture hangers. For brick walls, there are brick clips - some have adjustable clips that adjust to the size of the brick.
In regard to the dismayed fellow home stager with her crooked picture - because of the weight of the picture, she most likely used a single, plain nail to hang it - causing the weight of the picture to drag the nail on the drywall. There may have been two ring hangers on the back to support the load - then she could have easily implemented my blue tape trick to hang the piece, or, if wired, used a weight appropriate Monkey Hook to distribute the weight. Added art bumpers to the corners on the art, and she would of had a properly hung picture that would of held up till the home was sold.
With proper tools, a bit on investigation and good hanging technique anyone can solve the mystery of the Case of the Crooked Picture.
I offer One Day Room Makeover services, which includes a fresh new look for your art. This service is perfect right after the holidays when you are ready for a fresh new look for the new year. This too makes the perfect gift option.
Here’s a link to my Amazon Store for my Art Hanging Essentials. (Please note that I do receive a small % as an affiliate)
To Listen to my Podcast ONLY STAGERS IN THE BUILDING and this episode The Case of the Crooked Painting
Hungry for more tips, ideas and insight - Here’s my calendar of upcoming in-person events: https://www.julea.com/calendar-events or follow me on FB
Julea